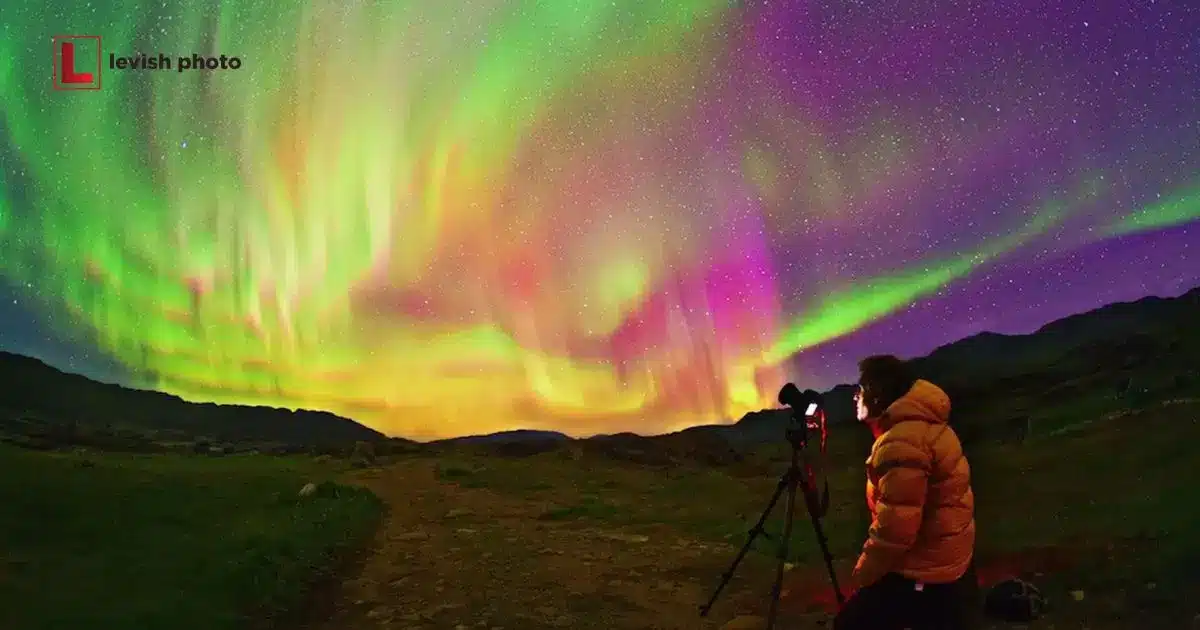
Northern lights photography involves capturing the mesmerizing natural phenomenon of colorful lights dancing in the night sky. These lights, also known as the Aurora Borealis, are a breathtaking display of light caused by solar particles colliding with the Earth’s atmosphere.
Are you eager to capture the ethereal beauty of the northern lights with your iPhone 12? If so, you’re in for an exciting adventure. Learning how to photograph northern lights with iPhone 12? opens up a world of possibilities for amateur and professional photographers alike.
Photographing the northern lights with an iPhone 12 is not only achievable but also convenient. The iPhone 12 boasts advanced camera capabilities, including Night mode, making it an excellent choice for capturing the natural wonder of the northern lights.
Equipment Preparation
Equipment preparation for photographing the northern lights with an iPhone 12 is essential to ensure captivating results. Make sure your iPhone 12 is fully charged or has a portable charger handy, as capturing the auroras can be a lengthy process. You may also consider using a remote shutter release for more control and reduced shake.
Next, don’t forget to clean your iPhone’s lens before you start shooting to avoid any unwanted blurs or smudges on your photos. In colder environments where the northern lights often appear, keep your iPhone and accessories warm to prevent battery drain and potential damage due to extreme cold.
Finding the Perfect Location
Finding the perfect location for capturing the northern lights with your iPhone 12 is crucial for stunning photographs. Look for places far from urban areas with minimal light pollution, as this ensures a clearer view of the night sky. Northern regions, closer to the Arctic Circle, often offer the best opportunities to witness this natural spectacle.
Seek spots with interesting foreground elements such as mountains, trees, or bodies of water to add depth and visual appeal to your northern lights photos. By choosing the right location, you can maximize your chances of capturing the captivating colors of the Aurora Borealis using your iPhone 12’s camera.
Monitoring Aurora Forecasts
When it comes to capturing the northern lights with your iPhone 12, staying informed about Aurora forecasts is crucial. Aurora forecasts provide valuable information on when and where this natural phenomenon is likely to appear, giving you the best shot at getting those breathtaking photos.
When pursuing photography of Jupiter with a DSLR, it’s essential to research and stay updated on the planet’s positions and visibility. Consider signing up for alerts or notifications from these sources. This way, you’ll receive instant updates when the aurora activity reaches its peak.
Camera Settings
Start by selecting a low ISO setting to reduce noise in your photos. Next, adjust the focus to manual and set it to infinity, ensuring the lights remain sharp and clear. Keep the exposure time relatively long, ideally between 15 to 30 seconds, to capture the vivid colors and the slow dance of the lights.
Using a wide aperture (f/1.6 or lower) helps gather more light and creates stunning bokeh effects. One key feature to maximize is Night mode, which automatically optimizes settings for low-light conditions. It’s designed to work seamlessly with the iPhone 12’s camera, enhancing details and reducing noise.
Using Night Mode
When photographing the northern lights with your iPhone 12, one crucial aspect to consider is utilizing Night Mode. This feature enhances low-light photography, allowing you to capture the mesmerizing colors of the auroras vividly. With Night Mode enabled, your iPhone 12 will automatically adjust exposure and processing time.
Night Mode also enables you to extend your exposure time, perfect for capturing the slow, graceful movement of the northern lights. As you frame your shot, ensure your iPhone 12 is on a stable surface or tripod to prevent any blurriness.
Tripod and Stabilization
When it comes to capturing the stunning beauty of the northern lights with your iPhone 12, ensuring stability is key. Using a tripod is highly recommended. This simple tool keeps your phone steady during long exposures, preventing any unwanted blurriness in your photos.
In addition to using a tripod, consider other stabilization techniques, such as a remote shutter release or using the built-in timer on your iPhone 12. These methods eliminate the need to touch your phone’s screen, reducing the risk of camera shake.
Framing and Composition
Framing and composition are vital aspects when capturing the northern lights with your iPhone 12. Consider the rule of thirds. Imagine dividing your frame into a 3×3 grid, and try placing the most intense part of the aurora in one of the intersecting points to create a balanced and visually pleasing image.
Experiment with foreground elements to add depth and context to your photos. Including natural elements like trees or a body of water can enhance the overall composition and give your northern lights images a more captivating story.
Shooting Techniques
When it comes to shooting techniques for capturing the northern lights with your iPhone 12, there are a few key strategies to keep in mind. Consider using the burst mode feature on your phone. This allows you to take a rapid series of shots, increasing the chances of capturing the perfect moment when the lights are at their most vibrant.
When shooting the northern lights with your iPhone 12, it’s essential to stay patient and take multiple shots. These natural phenomena can be unpredictable, so snapping several pictures increases your chances of capturing the most breathtaking moments. Adjust the focus and exposure manually if necessary to ensure your photos come out crisp and vibrant.
Post-Processing Tips
You’ve successfully captured the mesmerizing northern lights with your iPhone 12, it’s time to enhance those stunning shots with some post-processing magic. Post-processing can help make your photos even more captivating by bringing out the colors and details.
Here are a few key post-processing tips to take your northern lights photography to the next level:
Post-Processing Tips
| Tip | Description |
| Adjust Exposure | Fine-tune exposure settings to optimize the brightness and contrast of your images. |
| Enhance Colors | Boost the vibrancy of the aurora’s colors to make them pop and create a more vibrant, surreal look. |
| Reduce Noise | Use noise reduction tools to eliminate any digital noise that might have appeared in your night shots. |
| Sharpen Details | Apply sharpening techniques to enhance the fine details in your northern lights photographs. |
| Crop and Frame | Crop and frame your images to improve composition and focus on the most captivating elements of the scene. |
| Adjust White Balance | Fine-tune white balance settings to achieve the desired color temperature and tone for your photos. |
| Combine Multiple Shots | Consider creating composite images by merging multiple shots to capture different aspects of the display. |
| Experiment with Filters | Use creative filters or presets to give your photos a unique, artistic touch while maintaining a natural look. |
| Save in High Resolution | Ensure your final images are saved in high-resolution formats to preserve all the details and quality of your work. |
| Share Your Masterpieces | Apply sharpening techniques to enhance the fine details in your Northern Lights photographs. |
With these post-processing tips, you’ll be able to make your northern lights photographs captured with your iPhone 12 truly shine.
FAQs
Can I use other iPhone models for northern lights photography?
Yes, other recent iPhone models with Night mode can also be used for capturing the northern lights.
Do I need professional photography experience?
No, beginners can follow our guide and capture stunning northern lights photos with an iPhone 12.
Can I photograph the northern lights during any season?
The best time is late autumn to early spring when the nights are darkest and auroras are more visible.
How do I find a dark sky location?
Look for remote areas away from city lights and use apps to locate dark sky spots.
Are there recommended editing apps for post-processing?
Apps like Lightroom and Snapseed can help enhance your northern lights photos on your iPhone 12.
Conclusion
Capturing the northern lights with your iPhone 12 is an exciting and accessible endeavor. With the right techniques, settings, and a bit of preparation, you can create stunning images of this natural wonder. Your iPhone 12’s camera, equipped with Night mode, is a valuable tool for bringing the magic of the Aurora Borealis to life in your photos.
Whether you’re an amateur photographer or a seasoned pro, the northern lights offer an awe-inspiring canvas to explore, and your iPhone 12 is ready to help you seize the moment. Get ready to embark on your Northern Lights photography journey with confidence.