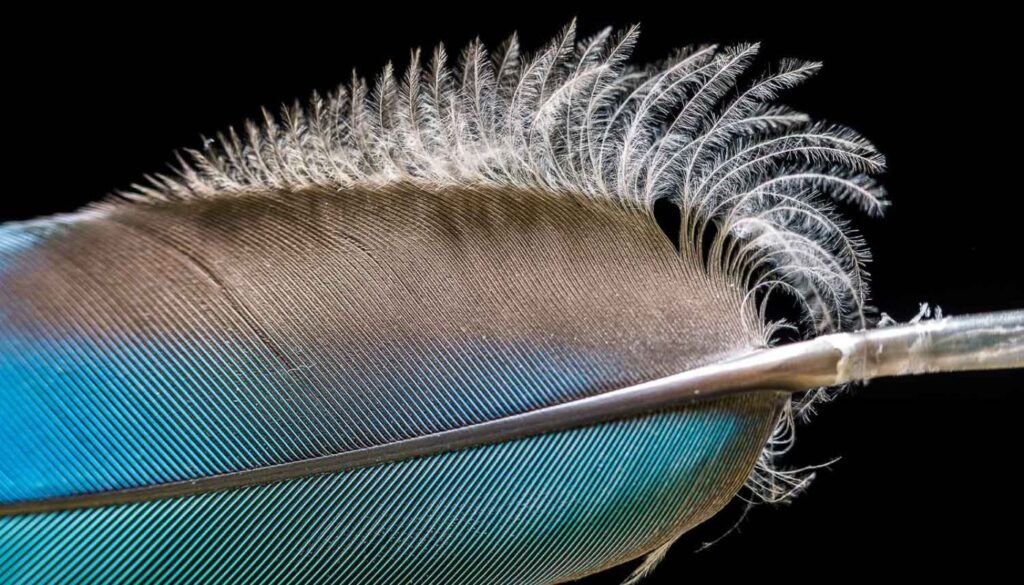
Macro photography opens up an intricate world of tiny details, textures, and subjects by capturing extreme close-ups. This specialized genre lets you reveal stunning intricacies that our eyes cannot normally perceive.
With some foundational knowledge and the right gear, you can unlock this mesmerizing realm of photography. Let’s dive into the world of macro shooting to help you master the technical nuances and creative possibilities.
What is Macro Photography and Why Try It?
Macro photography involves producing extreme close-up images where the subject is captured at near life-size or larger magnification on the camera sensor.
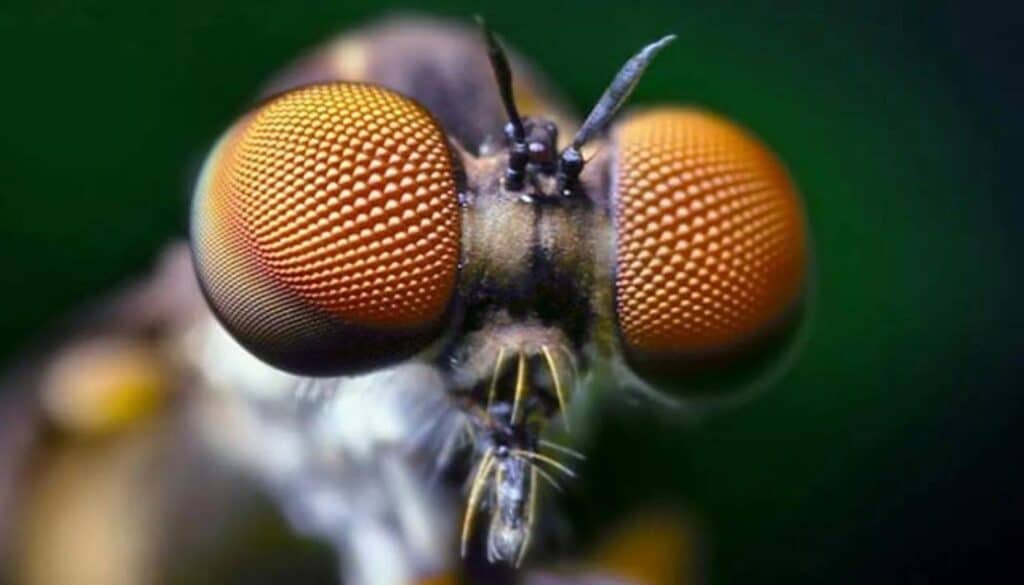
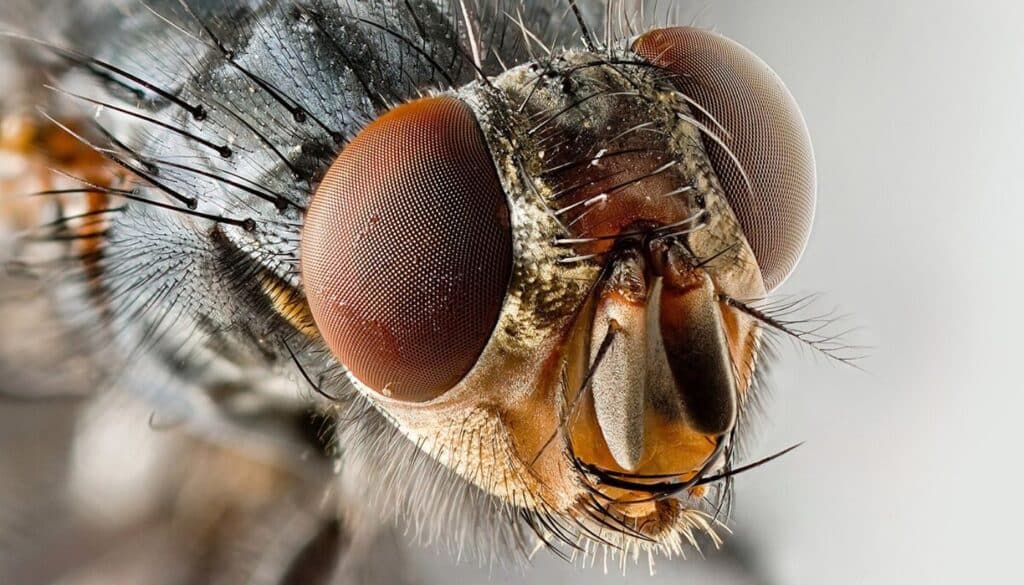
Typical macro magnification ratios are 1:1 to 5:1. This allows tiny elements like dew drops, flower stamens, and insect eyes to fill the frame in breathtaking detail.
Here are some key benefits of macro photography:
- Reveals intricate details of miniature subjects invisible to the naked eye.
- Creates abstract, unusual compositions by isolating small fragments.
- Heightens textures and patterns that get lost at normal distances.
- Allows creativity in perspective and focus not possible further away.
- Opens up a new photographic realm with many creative possibilities.
The technical demands also provide a great learning opportunity to master specialized equipment and advanced skills.
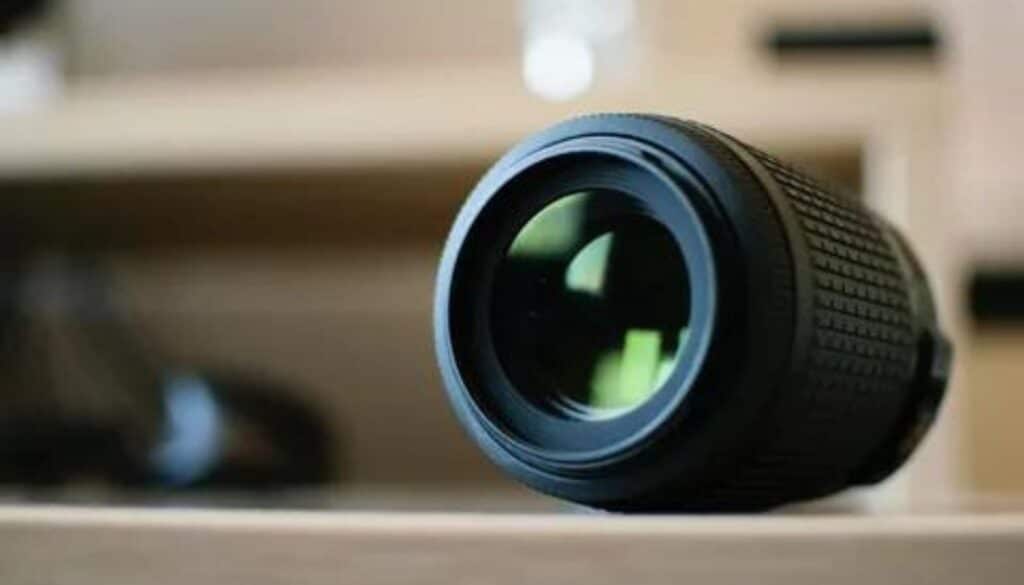
Macro Photography Equipment Essentials
Specialized camera equipment helps overcome the exposure and magnification challenges of extreme close-up photography. Here are some must-have gear options:
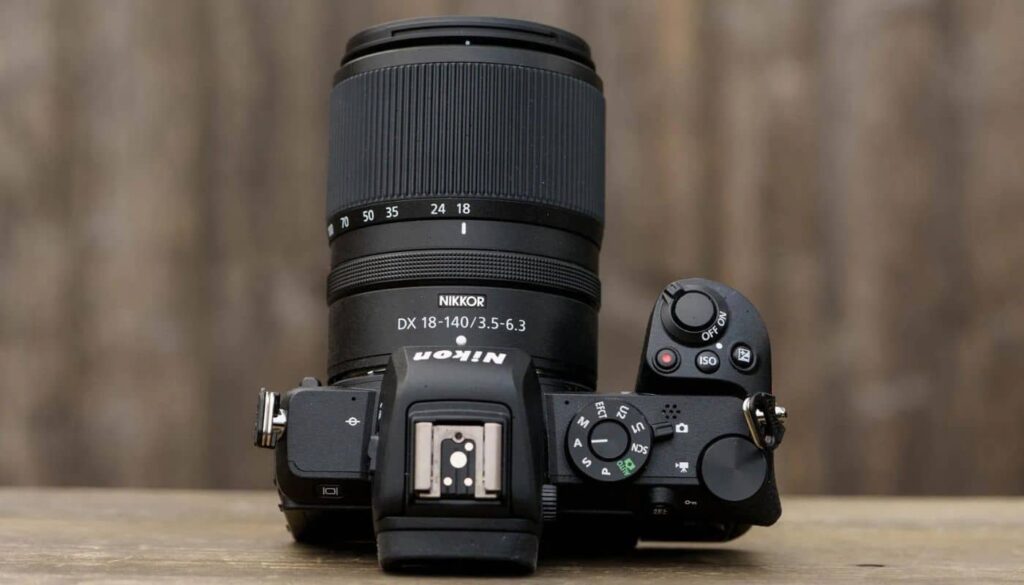
- Dedicated Macro Lenses – Prime lenses that provide 1:1 magnification and close focusing. Popular options are 90mm, 100mm, 105mm, or 150mm macro lenses.
- Extension Tubes – Inserted between lens and camera to increase magnification. Needs no optics.
- Diopters – Screw-on lens elements that enable close focusing while maintaining infinity focus.
- Macro Flash – Dedicated flashes on adjustable arms to sidelight macro subjects.
- Tripod – Essential for stabilizing the camera at high magnifications and narrow apertures.
- Macro Rails – For precision control over camera position and focus adjustments.
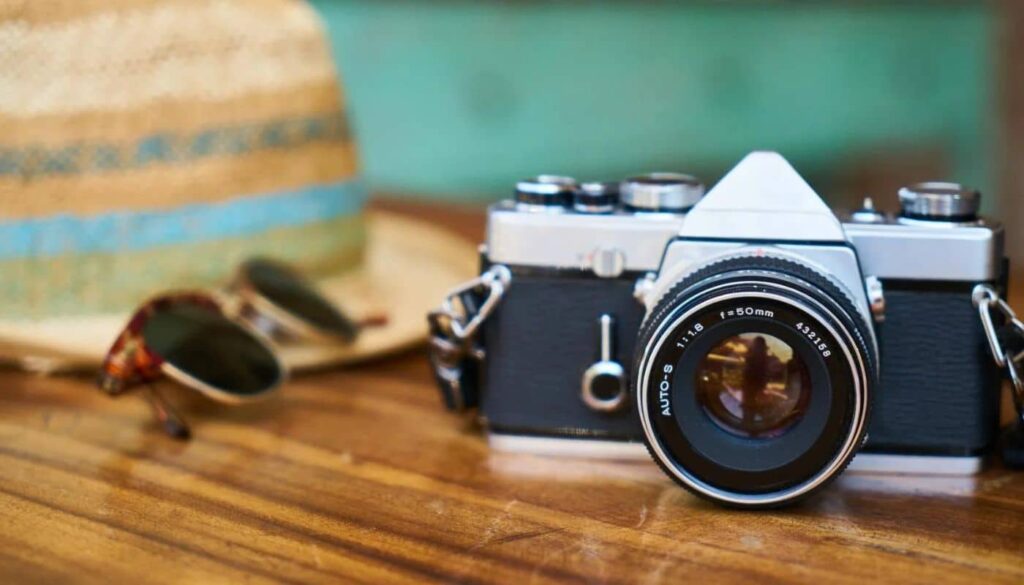
DSLR and mirrorless cameras offer the most lens, flash, and accessory options for macro shooting. Some enthusiast compact cameras also have decent macro abilities.
Understanding Magnification Ratios and Minimum Focus Distances
Two key specifications for macro lenses are maximum magnification ratio and minimum focusing distance.
- Magnification indicates the reproduction ratio between the tiny subject’s size on the sensor vs. real life. 1:1 is considered true macro.
- Minimum focus is how close you can be to the subject. This often ranges from 3.9 inches to 11 inches for macro lenses.
Extension tubes and diopters can further increase magnification from a lens’s native ratio. This helps capture even smaller details.
Mastering Focus, Lighting, and Composition for Macro Shots
Macro photography requires adapting standard techniques to the close-up realm:
- Focus Stacking – Combining multiple shots focused at different depths to increase depth of field.
- Focusing Rails – For precision control over minute focus adjustments.
- Off-Camera Flash – To counteract uneven lighting and shadows.
- Backdrops – Seamless backgrounds minimize distraction and clutter.
- Leading Lines – Use linear elements in the scene to draw interest.
- Perspective – Get creative with angles and positions around tiny subjects.
Practice and persistence pay off when mastering these advanced macro skills.
Insect, Flower, and Jewelry Macro Photography Tips
Three popular macro subjects require tailored approaches:
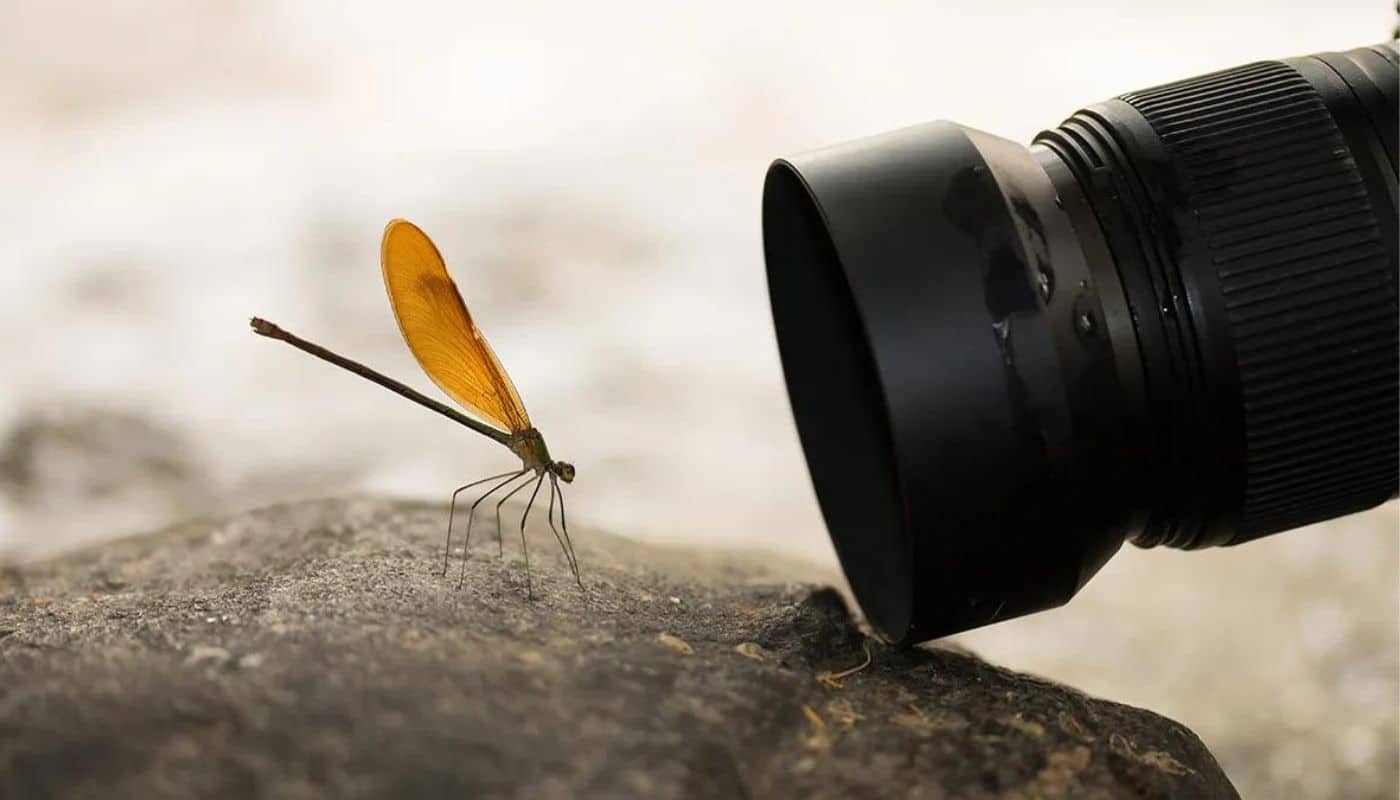
Insect Macro:
- Be ready to freeze sudden motion and shifts.
- Approach cautiously and use focus stacking for greater depth of field.
- Light creatively to bring out details and colors.
Flower Macro:
- Time shoots for peak freshness and light conditions.
- Compose to emphasize intricate floral details.
- Use low perspective and fill flash to highlight subjects.
Jewelry Macro:
- Use polarizer filters to reduce reflections and glare.
- Position lights to evenly illuminate gem facets.
- Adjust angles to best showcase the contours and details.
Creative Macro Photography Ideas Beyond the Basics
After mastering basics like flowers and insects, try unique macro experiments:
- Water droplets and liquid dynamics.
- Reflections, refractions, optical effects.
- Backlit translucent objects.
- Macro panning, zooming, focus transitions.
- Mixing macro with astrophotography.
- Creative compositions with common objects.
Let your imagination run wild! The micro world offers unlimited creative potential.
Common Macro Photography Mistakes and How to Avoid Them
It takes practice to avoid these common macro pitfalls:
- Missed focus – Use live view, focus peaking, magnification, and focus stacking.
- Camera shake – Maintain fast shutter speed, use tripod and remote release.
- Imbalanced lighting – Add diffused flash from multiple angles.
- Distracting backgrounds – Choose simple, blurry backgrounds through aperture control.
- No sense of scale – Include familiar objects for size reference.
- Cluttered composition – Simplify and isolate the key subject.
With patience, you can learn to maneuver around these macro challenges.
Post-Processing and Editing Your Macro Images
Some specialized editing can help your macro shots shine:
- Sharpening – Reveal intricate details.
- Noise reduction – Handle high ISOs and magnification.
- Dodging/burning – Better expose specific regions.
- Color/contrast – Make colors pop.
- Cropping/retouching – Perfect and compose small sections.
- Focus stacking – Combine optimal focus from multiple exposures.
Advanced editing brings out the nuances that macro photography captures.
The intricate world of macro photography opens up stunning artistic possibilities. Equip yourself with specialized gear and master techniques like focus stacking, precision lighting, and creative composition.
With practice, you can reveal intricate new worlds by photographing the minute details around you. Immerse yourself in this mesmerizing genre and keep exploring its creative potential. The images you can create through macro photography will blow minds and expand perspectives.
Let me know if you would like me to expand or modify any part of the blog post. I’m happy to keep refining it until it provides the depth and value you need.
Picking the Best Macro Lens for Your Camera
With so many macro lens options, here are key factors to consider:
- Focal length – 90-150mm provides comfortable working distance. Shorter has less background blur.
- Maximum aperture – Low f/stops help with brightness and depth of field.
- Magnification – 1:1 is true macro, but some go up to 5:1 with stacking.
- Minimum focus distance – Shorter is more versatile for super close-ups.
- Image stabilization – Reduces shake but can limit magnification power.
- Lens aberrations – Best lenses have minimized distortion and flare.
- Price – Pro-level macro lenses provide the highest quality but cost more.
Using Macro Focusing Rails for Precision
Focusing rails allow tiny adjustments and help master depth of field:
- Get smooth, incremental focus control vs. rotating the lens barrel.
- Maintain stability of camera position when acquiring focus stacks.
- Can be mounted on tripod or used handheld.
- Must be sturdy, smooth, and have precise adjustment knobs.
- Allows complex focus bracketing programming for automated stacks.
Focusing rails are the precision instrument for macro focusing challenges.
DIY Macro Photography Hacks and Solutions
Getting into macro doesn’t have to be expensive. Consider these budget options:
- Use reversing rings to reverse a standard lens for macro effects.
- Try close-up filters or diopters that screw onto normal lenses.
- Combine bellows and lens boards for customized macro abilities.
- Create mini studio sets and lighting rigs with simple materials.
- Build a macro focusing rail using spare parts and hardware.
With some creativity, you can rig DIY macro gear on a budget.
Top Macro Photography Cameras
Leading cameras for macro photography include:
- Canon EOS 5D Mark IV – Excellent full-frame camera with 30MP resolution.
- Nikon D850 – Top Nikon full-frame choice with 45MP detail.
- Sony a7R III – Sony mirrorless with 42MP capturing super fine textures.
- Fujifilm GFX100S – Medium format 102MP for extreme resolution.
- Canon M50 – Good entry-level option for crop sensor macro shooting.
Look for high resolution, strong macro lenses, and manual control options.
Conclusion
Macro photography opens up an intricate world of tiny details and textures by capturing extreme close-ups. With specialty lenses and gear, you can reveal hidden wonders on a tiny scale. Master specialized techniques like focus stacking, precision lighting, and creative compositions.
Avoid common pitfalls like missed focus and distracting backgrounds. Equip yourself with macro lenses, flashes, tripods, and rails to overcome technical hurdles. Experiment with unique perspectives and subjects beyond basic flowers and insects.
With practice and patience, you can create enthralling images that showcase the micro world around you in stunning detail. Immerse yourself in macro shooting and be amazed by the tiny intricacies you unveil through your lens.
FAQ’s
What are the basic rules for macro photography?
Then let’s get started.
Every Macro Photo Must Have a Subject. This is it. …
Start With the Rule of Thirds for Stunning Macro Photography. …
Use Symmetry to Create Bold Macro Photography Compositions. …
Fill the Frame With Your Subject. …
Include a Uniform Background for Maximum Impact.
What is the key to macro photography?
To get good macro shots, position your camera preferably on a tripod, and find your subject, ideally on a place where it does not move too much.
Then, before you focus, check your working distance to get the best shot. Your working distance is the distance between the front of your lens and your nearest subject.
How do I start macro photography?
Macro photography tips.
Keep your eye on the details. As you move closer to any object, the fine details and tiny imperfections that are invisible from a distance become clear. …
Plan what you want to capture. …
Shed some light on your subject. …
Consider your scene. …
Beware of movement.
What makes a good macro image?
Macro photography happens at a different scale, but the same practices apply: make sure your subject is in focus, your contrast is good and it’s clear where you want the audience to look.
What is the best ISO setting for macro photography?
Set your ISO to the lowest native ISO on your camera either 64, 100 or 200 and then turn on Auto ISO. You can use either P (Programme), S (Shutter Priority), A (Aperture Priority) or M (Manual) modes.