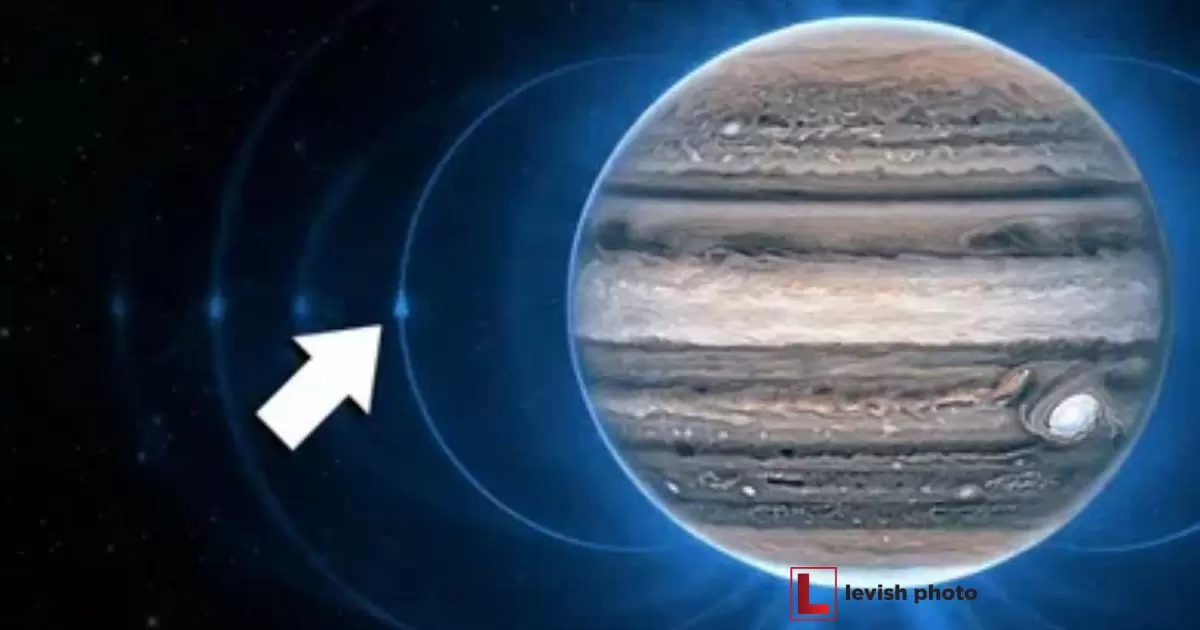
Photographing Jupiter with a DSLR involves capturing images of the largest planet in our solar system using a digital single-lens reflex camera. This process allows astronomy enthusiasts and photographers to document the stunning beauty of Jupiter and its prominent features.
With the right guidance and equipment, you can unlock the secrets of capturing this gas giant in all its glory. How To Photograph Jupiter with a DSLR? is a captivating journey into the realm of planetary photography. Imagine photographing the intricate details of Jupiter’s atmosphere.
To photograph Jupiter with a DSLR, you’ll need to employ specific techniques to achieve the best results. Using manual settings, a telescope or a long telephoto lens, and stacking multiple images are just some of the methods you can employ to enhance the quality of your Jupiter images.
Essential Equipment for Jupiter Photography with DSLR
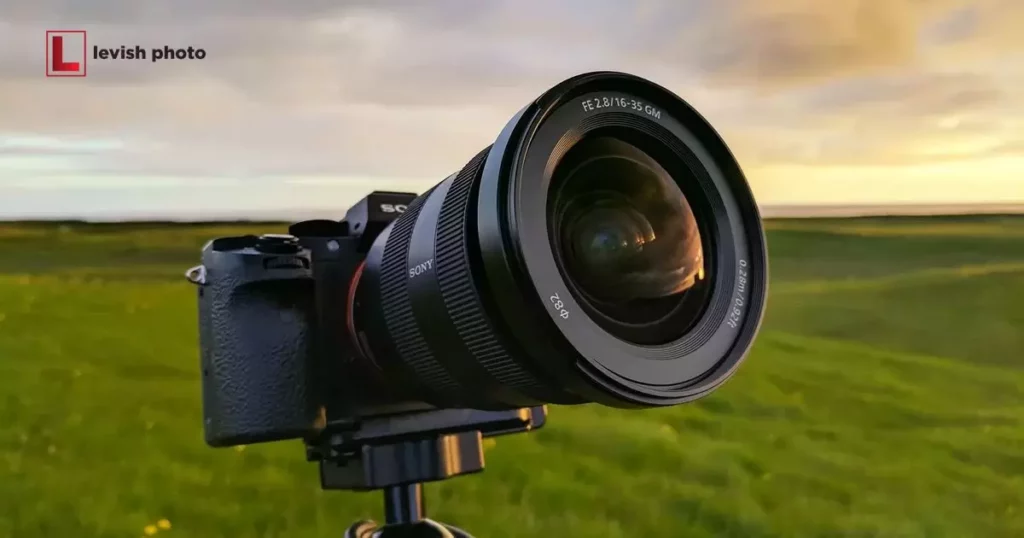
To embark on your journey of photographing Jupiter with a DSLR, you’ll need some essential equipment. A reliable DSLR camera with manual settings capability is a must. This will allow you to have full control over your exposure settings, crucial for capturing the planet’s intricate details.
You’ll require a sturdy tripod to keep your setup stable and reduce vibrations during long exposures. To get up close and personal with Jupiter, consider using a telescope or a long telephoto lens. These optics will magnify the planet and make it more visible in your frame.
Finding the Right Time and Location for Jupiter Photography with DSLR
To capture stunning images of Jupiter with your DSLR camera, it’s crucial to find the right time and location. Jupiter’s visibility in the night sky varies throughout the year, so you need to plan your photography sessions accordingly. The best time for Jupiter photography is during opposition when the planet is closest to Earth.
The location you choose can significantly impact the quality of your Jupiter photos. Select a spot with minimal light pollution to ensure clear and crisp images. Heading to a dark-sky site or a remote area away from city lights will enhance your chances of capturing Jupiter’s intricate details.
Setting Up Your DSLR Camera for Jupiter Photography
Setting up your DSLR camera for Jupiter photography is a crucial step in capturing stunning images of the gas giant. Start by mounting your DSLR securely on a sturdy tripod to avoid any unwanted camera shake. Ensure the camera is in manual mode, allowing you to have full control over the settings.
Adjust the ISO setting to a low value, typically between 100 and 400, to reduce noise in your images. Set your aperture to a wide and fixed value, like f/8 or f/11, to maintain sharpness across the frame. You’ll want to use a fast shutter speed, such as 1/1000th of a second, to freeze Jupiter’s rotation and minimize blurriness.
Don’t forget to enable the camera’s remote or timer function to reduce any vibrations caused by pressing the shutter button. Consider using the camera’s live view mode to accurately focus on Jupiter, ensuring your DSLR is ready to capture the beauty of the gas giant with precision and clarity.
Choosing the Right Lenses and Telescopes for Jupiter Photography with DSLR

When it comes to capturing a photograph of an atomic bomb and choosing the right lenses and telescopes for Jupiter photography with your DSLR camera, you need to consider a few key factors. You’ll want to opt for a telescope or lens with a long focal length.
It’s essential to choose a telescope or lens with good optical quality to ensure sharp and clear images. Look for options with minimal chromatic aberration and distortion. Telescopes with a sturdy mount and tracking system can be especially helpful for keeping Jupiter in your frame as it moves across the night sky.
Capturing Jupiter’s Details through Techniques for DSLR Photography
Capturing Jupiter’s intricate details through techniques for DSLR photography is a thrilling endeavor. To achieve this, it’s crucial to start with the right camera settings. Set your DSLR to manual mode, allowing you to control key parameters such as shutter speed, ISO, and aperture.
Image stacking is a valuable technique for enhancing the sharpness and detail of your Jupiter photos. By capturing multiple images of Jupiter and aligning and stacking them in post-processing, you can reduce noise and reveal finer details, such as cloud bands and the Great Red Spot.
Photographing Jupiter’s Moons with Your DSLR Camera
Photographing Jupiter’s moons with your DSLR camera adds an extra layer of intrigue to your astrophotography journey. A telephoto lens or a telescope with appropriate magnification is essential to reveal the intricate details of the four largest Galilean moons, Io, Europa, Ganymede, and Callisto.
To bring out the moon’s visibility, it’s important to set your DSLR camera to manual mode, use a high shutter speed, and adjust the ISO and aperture settings accordingly. Focusing on Jupiter itself can help enhance the moon’s visibility, and capture a series of images over time.
Tips for Image Stacking and Post-Processing in Jupiter Photography
Once you’ve captured multiple Jupiter images with your DSLR camera, the next step is image stacking and post-processing. Image stacking involves combining several individual shots to reduce noise and enhance details. Use specialized software for this purpose.
In the post-processing phase of Jupiter photography with a DSLR, you can fine-tune your images. Adjust the brightness, contrast, and colors to reveal Jupiter’s intricate cloud bands and the Great Red Spot. Sharpen the details and reduce any remaining noise.
Common Challenges and Solutions in DSLR Photography of Jupiter
Photographing Jupiter with a DSLR can come with its fair share of challenges. One common hurdle is atmospheric turbulence, which can distort the details of the planet as it passes through Earth’s atmosphere.
Another challenge is achieving proper focus, as Jupiter is a relatively small target in the night sky. Use a technique known as planetary imaging, where you record a short video of Jupiter and then select the sharpest frames during post-processing.
Common Challenges and Solutions in DSLR Photography of Jupiter
| Challenge | Solution |
| Atmospheric Turbulence | To counter the effects of atmospheric turbulence, capture a rapid series of images and use software to select and stack the sharpest frames, resulting in clearer Jupiter images. |
| Achieving Proper Focus | Achieving proper focus on Jupiter can be challenging due to its relatively small size in the night sky. Use planetary imaging techniques by recording a short video and selecting the sharpest frames during post-processing. |
| Light Pollution | Light pollution from urban areas can negatively impact your Jupiter photos. Solutions include traveling to darker locations or using light pollution filters to reduce unwanted light in your images. |
| Tracking Jupiter’s Movement | As Jupiter moves across the sky, tracking its motion can be tricky. Use a motorized equatorial mount to keep Jupiter centered in your telescope or camera frame for longer exposures. |
| Image Noise | Reducing image noise is essential. Shoot at a lower ISO setting and apply noise reduction techniques during post-processing for cleaner Jupiter images. |
| Weather Conditions | Unpredictable weather can disrupt your plans. Check the weather forecast and be patient, as clear, steady nights are ideal for Jupiter photography. |
| Light Leaks | Prevent light leaks by ensuring your camera and telescope are properly sealed, using dew shields, and minimizing stray light sources during your photography session. |
| Post-Processing Complexity | Mastering post-processing can be daunting. Start with basic adjustments, like contrast and sharpening, and gradually explore more advanced techniques as you gain experience. |
| Tracking Errors | Minimize tracking errors by regularly calibrating and aligning your equatorial mount to ensure precise tracking of Jupiter’s movement. |
| Moon Interference | The moon’s brightness can affect your Jupiter photos. Plan your photography sessions around moonless nights to capture Jupiter in its full splendor. |
These solutions address various challenges encountered in the DSLR photography of Jupiter, helping you overcome obstacles and capture stunning images of the gas giant.
Sharing And Display Options for Showcasing Your Stunning Jupiter Images
Once you’ve captured stunning images of Jupiter with your DSLR camera, the next step is sharing and displaying your astronomical achievements. There are several options to consider. You can share your images on social media platforms like Instagram, Twitter, or astronomy-focused communities.
In addition to sharing online, consider printing your Jupiter photographs. You can create wall art for your home, personalized gifts, or even submit your work to local art exhibitions or astronomy clubs. A framed print of Jupiter’s mesmerizing features can be a beautiful addition to your living space and a conversation starter.
FAQs
What equipment do I need to photograph Jupiter with a DSLR?
To photograph Jupiter, you’ll need a DSLR camera, a telescope or a telephoto lens, and an adapter to connect the camera to the scope or lens.
When is the best time to photograph Jupiter?
The best time to photograph Jupiter is when it’s high in the night sky, typically when it’s in opposition, which occurs approximately once a year.
What camera settings should I use for Jupiter photography?
Use manual settings with a high shutter speed, and low ISO, and adjust the aperture to capture Jupiter’s details and minimize noise.
How can I capture Jupiter’s moons in my photos?
To capture Jupiter’s moons, use a higher magnification telescope or lens and stack multiple images to reveal the moons’ positions.
What post-processing techniques can enhance my Jupiter photos?
Post-processing techniques such as stacking, color correction, and sharpening can help improve the quality and clarity of your Jupiter images.
Conclusion
Photographing Jupiter with a DSLR is a rewarding and accessible pursuit for anyone interested in astronomy and astrophotography. By following the techniques outlined in this guide and investing in the right equipment, you can capture the beauty of this gas giant, from its intricate cloud bands to its dynamic moons.
Grab your DSLR camera, head out under the night sky when Jupiter is at its prime, and remember that the secrets of our solar system’s largest planet are waiting to be unveiled through the lens of your camera.
