Deleting Photoshop projects is an essential skill for any user looking to maintain a clutter-free workspace and optimize their workflow. Whether you’re a professional designer or an amateur enthusiast, learning how to efficiently delete projects can help you stay organized and save valuable storage space.
This guide will provide you with step-by-step instructions on how to delete Photoshop projects, ensuring that you can safely remove unwanted files without causing any disruption or loss of data. By following these instructions, you’ll be able to confidently navigate the process of deleting projects, allowing you to focus on creating and editing your next masterpiece.
- Understanding project structure helps in making informed decisions
- Deleting projects helps maintain an organized workspace
- Saving work frequently ensures data preservation
- Regularly backup projects for data security
Understanding Photoshop Projects
To fully grasp the process of deleting Photoshop projects, it is essential to first understand the fundamentals of Photoshop projects. A Photoshop project refers to any creative work that is being carried out within the Photoshop software. It can include tasks like photo editing, graphic design, or digital art creation.
A project typically consists of multiple layers, each containing different elements such as images, text, or effects. These layers can be rearranged, modified, or deleted to achieve the desired outcome. Understanding how Photoshop projects are structured and organized will enable users to navigate the software more effectively and make informed decisions when it comes to deleting elements or entire projects.
Saving Your Work

When working on Photoshop projects, it is crucial to prioritize the task of saving your work. Failing to save your progress regularly can lead to the loss of hours of hard work and creativity. To ensure that your work is protected, Photoshop provides various options for saving your projects. The most common method is to use the Save or Save As commands, which allow you to save your project as a PSD file.
This file format retains all the layers, effects, and adjustments you have made, enabling you to continue editing your project later. Additionally, Photoshop also allows you to save your work in different formats, such as JPEG or PNG, which are suitable for sharing or printing purposes. Remember, Anti Aliased In Photoshop saving your work frequently is essential to avoid any potential data loss and ensure the preservation of your creative efforts.
Closing a Project

To close a Photoshop project, follow these steps. First, make sure you have saved your work to avoid any loss of data. Once you have completed your project and are ready to close it, go to the “File” menu at the top left corner of the application window. Click on “Close” or use the keyboard shortcut Ctrl + W (Windows) or Command + W (Mac).
This will close the active project and remove it from the Photoshop workspace. If you have made any changes since the last save, Photoshop will prompt you to save your work before closing. It is important to note that closing a project does not delete it from your computer. If you wish to delete the project file, you will need to do so manually.
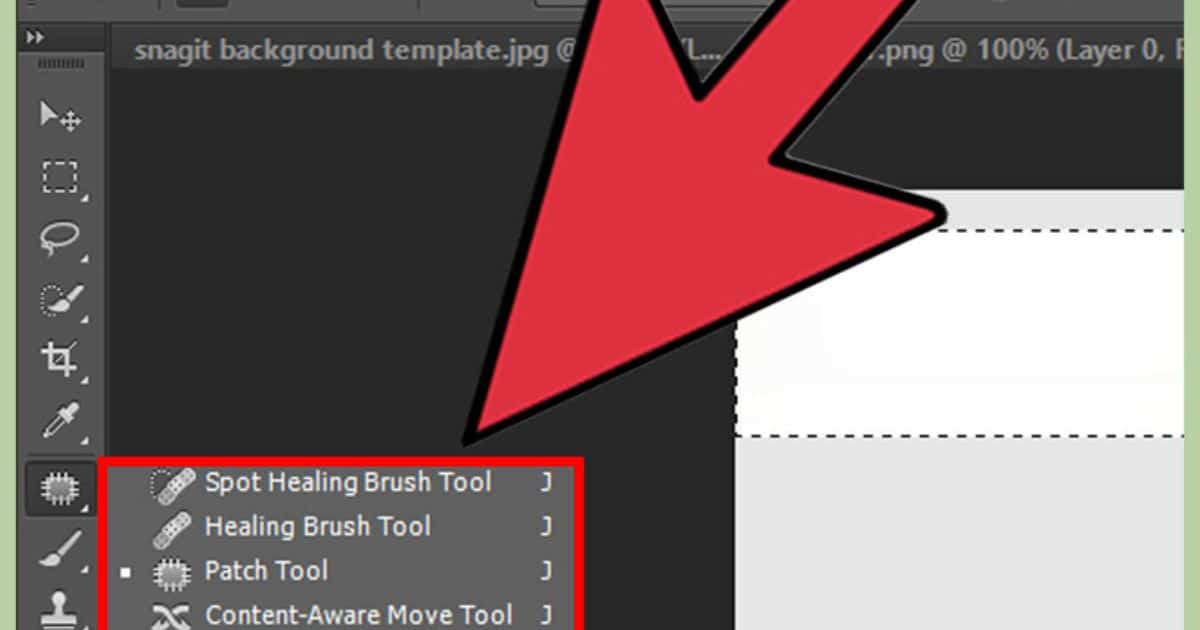
Deleting Project Files
Deleting Photoshop project files can be done by following these steps. First, open Adobe Photoshop and navigate to the file menu. From there, select “Open Recent” to view a list of recently accessed projects. Locate the project file you wish to delete and right-click on it. A dropdown menu will appear, and you can choose to either remove the project from the list or delete it permanently from your computer.
Alternatively, you can manually locate the project file on your computer by using the file explorer or finder. Once you have found the file, right-click on it and select “Delete” or move it to the recycle bin/trash. Remember to empty the recycle bin/trash to permanently delete the project file.
Organizing Projects
After deleting Photoshop project files, it is important to focus on effectively organizing your projects. Proper organization can save you time and frustration in the long run. Here are four tips to help you organize your Photoshop projects:
- Create a folder structure: Set up a logical folder structure to keep your projects organized. Group similar projects together and create subfolders to further categorize them.
- Use descriptive file names: Give your projects meaningful names that reflect their content. This will make it easier to locate specific projects in the future.
- Use metadata and tags: Take advantage of Photoshop’s metadata and tagging features to add additional information to your projects. This can help you quickly search and filter your projects based on specific criteria.
- Backup your projects: Regularly back up your projects to prevent data loss. Consider using cloud storage or external hard drives for added security.
Possible Errors When Deleting
When deleting Photoshop projects, it is important to be aware of potential errors that may arise during the process. One common error that users may encounter is the inability to delete a project due to its file being locked or in use by another application. In such cases, it is necessary to close any programs that may be using the file and then attempt deletion again. Another error that may occur is the deletion of the wrong project by mistake.
This can happen if multiple projects are selected simultaneously or if the user is not careful while selecting the project to be deleted. To avoid this error, it is recommended to double-check the selected project before confirming deletion. Understanding these possible errors can help users navigate the deletion process more effectively How To Delete Photoshop Projects? Now, let’s move on to the next section to learn about how to reset Photoshop.
How to Reset Photoshop
To initiate a reset of Photoshop, users can employ the ‘Restore Defaults’ feature. This option allows users to revert all settings to their original state, effectively resetting the program. Here are four steps to reset Photoshop using the ‘Restore Defaults’ feature:
- Open Photoshop and go to the “Edit” menu.
- Click on “Preferences” and select “General.”
- In the General Preferences window, click on the “Reset Preferences on Quit” button.
- Confirm the reset by clicking “OK” in the dialogue box that appears.
FAQs
Conclusion
In conclusion, properly managing and deleting Photoshop projects is an essential skill for efficient workflow and organization. By understanding the process of saving, closing, and deleting project files, users can ensure their workspace remains clutter-free.
Remembering to organize projects and being mindful of potential errors can further enhance the overall experience. Just as skilled chef carefully clean and organizes their kitchen after creating a masterpiece, deleting Photoshop projects allows for a fresh start and a clear canvas for future creative endeavours.